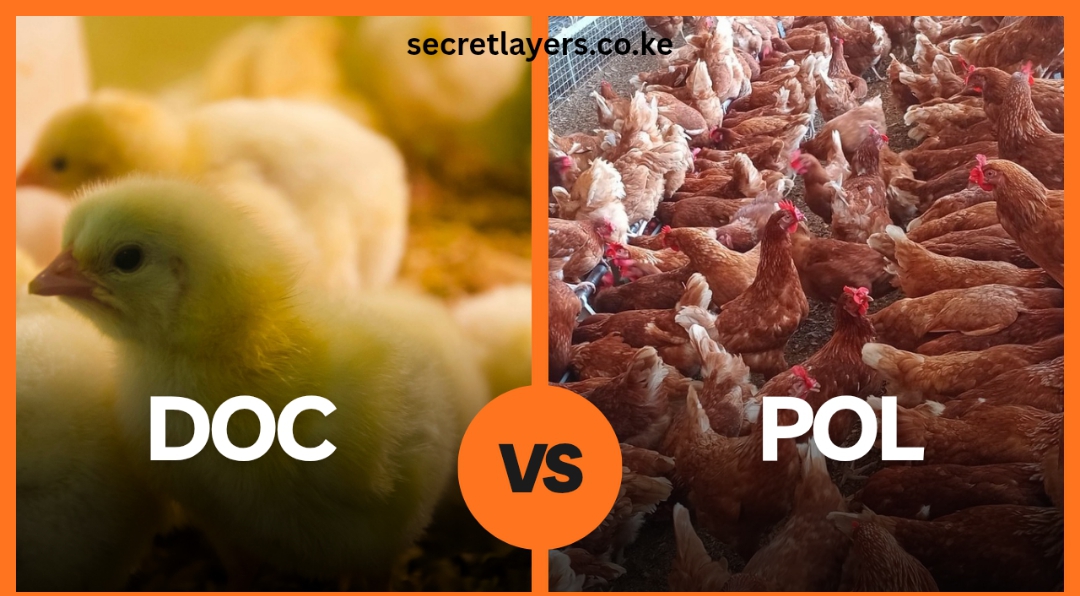
Should you vaccinate your chicken or not?
That question has been debated for many years among poultry farmers.
Although many people think the answer is obvious, the reality on the ground tells a different story.
Before we go further, let me ask you something.
Did you get the COVID-19 vaccine?
If you did, did you complete all the doses?
As of late 2024, about 70% of the global population received at least one COVID-19 vaccine dose. However, in many low-income countries like Kenya, only about 38.9% received even the first dose.
Therefore, vaccine hesitancy is not just a chicken problem. It is a human problem too.
For the record, I received my full COVID-19 vaccination.
Because I am in my final year of medical school at the University of Nairobi, I understand how vaccines work in both humans and animals.
Now, let us apply those same principles to poultry farming.
In this article, I will:
Explain how vaccines work.
Address common concerns about chicken vaccination.
Give five clear reasons why you should vaccinate your chickens.
Share practical tips to avoid costly mistakes.
Ultimately, the final decision is yours. However, I encourage you to read carefully so you can protect your birds, your customers, and your profits.
How Do Vaccines Work?
Let me simplify how vaccines work.
Normally, when a disease attacks a chicken, the body produces “soldiers” (antibodies) to fight the virus, bacteria, or parasite. If the chicken’s immunity is strong, those soldiers destroy the disease before serious signs appear.
However, when immunity is weak, the disease multiplies. As a result, the chicken becomes sick and may die.
Fortunately, when a chicken survives an infection, the body keeps memory cells. Because of that memory, the body can respond faster if the same disease attacks again.
So how does a vaccine help?
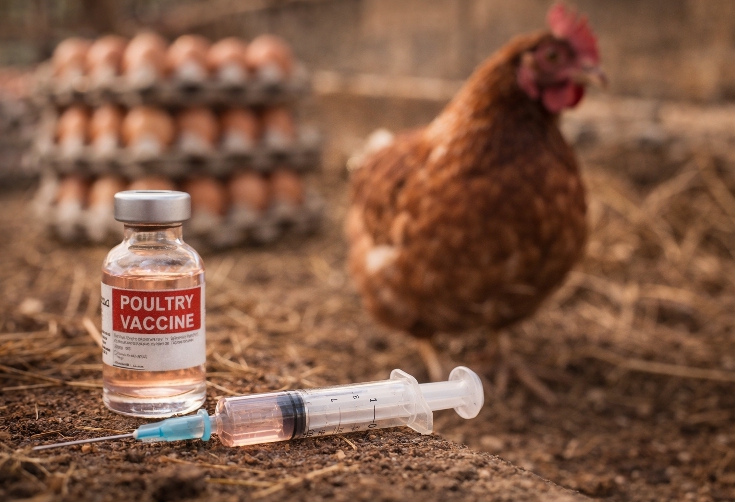
Simply put, a vaccine contains a weakened or killed form of a disease. When you give it to a healthy bird, the body produces soldiers without causing full disease.
Later, if Newcastle disease, Gumboro (Infectious Bursal Disease), Fowl Pox, or Infectious Bronchitis attacks, the bird is already prepared.
Consequently, the immune system responds quickly and strongly.
That is the basic science behind chicken vaccination.
5 Common Concerns About Poultry Vaccination
Although vaccines are widely used in layer poultry farming in Kenya, many farmers still have concerns.
Let us address them honestly.
1. Vaccines Make Birds Sick And Kill Them
Yes, vaccines can cause mild reactions. However, serious death from vaccines is rare when birds are healthy.
In most cases, problems happen because:
The birds were already sick.
The wrong dosage was used.
The vaccine was poorly stored.
Biosecurity was weak.
Therefore, proper poultry biosecurity and correct handling are critical.
2. Vaccines Do Not Work
It is true that vaccines are not 100% effective. However, no medical intervention in the world is 100%.
Even so, vaccinated flocks have much lower mortality during outbreaks of Newcastle disease or Gumboro compared to unvaccinated flocks.
In other words, vaccination reduces risk. It does not eliminate risk completely.
3. Vaccines Contaminate Eggs And Meat
Some farmers worry that vaccines remain in the chicken’s body and make eggs unsafe to eat.
However, approved poultry vaccines are tested for safety. Most do not remain in meat or eggs in harmful amounts when used correctly.
In fact, vaccination often improves food safety by reducing diseases like Salmonella that can contaminate eggs.Therefore, following proper dosage and observing recommended guidelines ensures both bird health and consumer safety.
4. Vaccines Are Expensive
5. Conspiracy Theories
So, Should You Vaccinate Your Chicken?
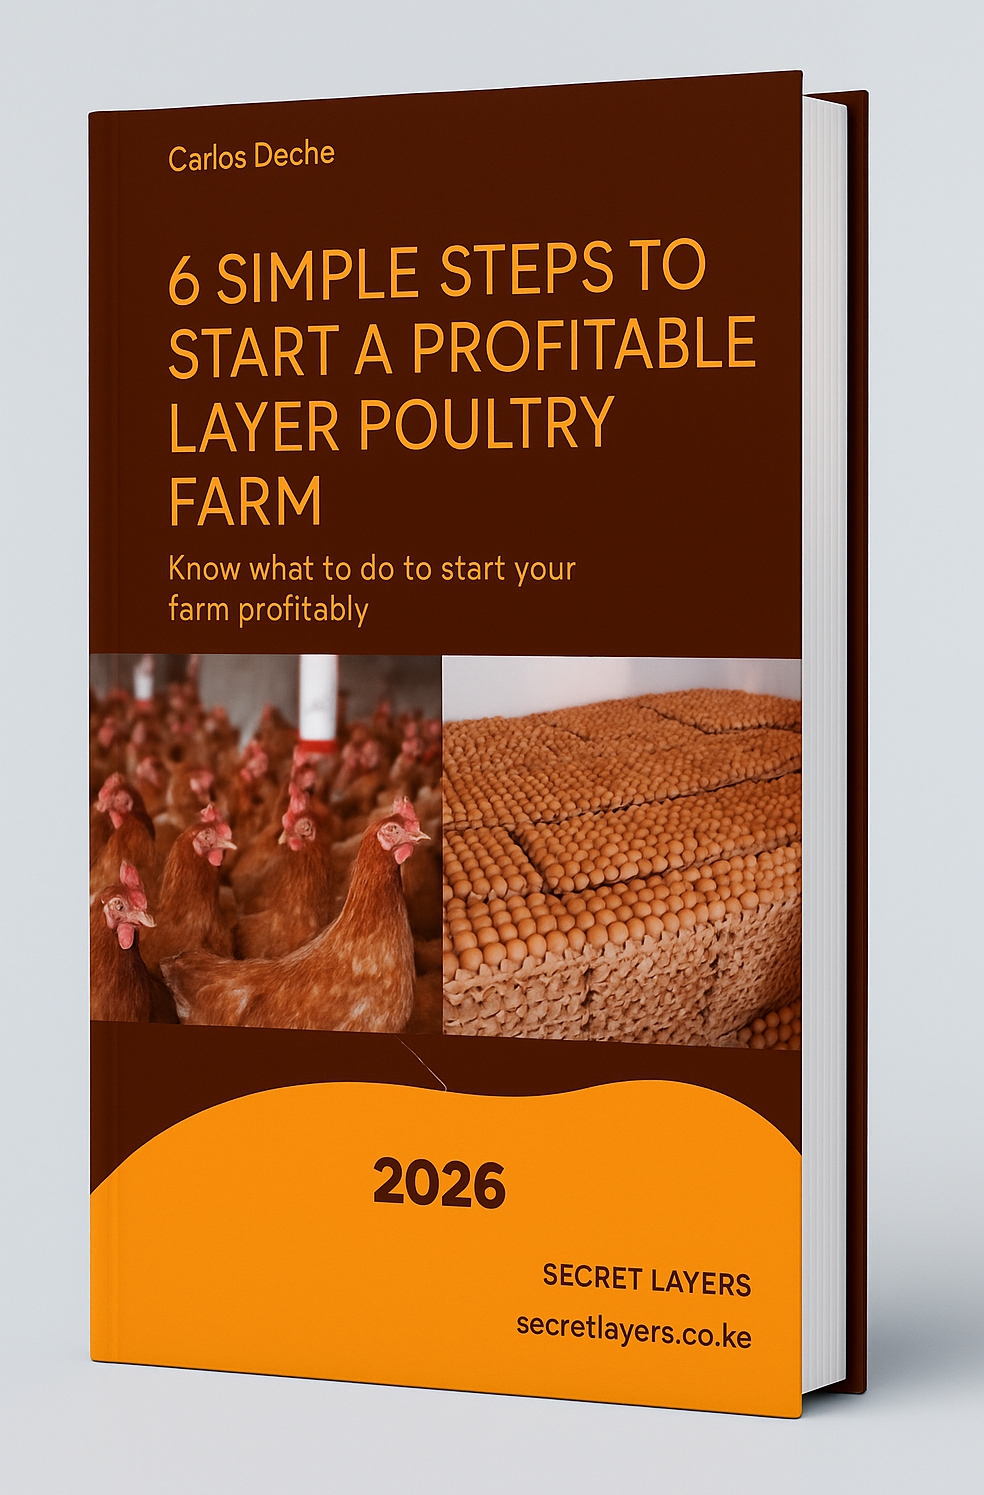
Get this Free Layer Poultry Farming Ebook straight to your inbox if you want to start a profitable farm:
1. To Prevent Disease
2. To Reduce Mortality
3. Herd Immunity
4. Better Quality Produce
5. To Save And Make Money
Every poultry farmer is in business to make profit.
Because disease reduces egg production, increases mortality, and raises treatment costs, it directly eats into your income. Vaccination protects your cash flow.
Let us look at the numbers..
Ksh 5,000 for vaccines or Ksh 200,000 loss from total flock death.
Ksh 5,000 for vaccines or Ksh 50,000 spent on treatment.
Ksh 5,000 investment or Ksh 500,000 lost egg income over two years.
Clearly, this is not just about disease prevention. It is about protecting your business.
As the saying goes, if education is expensive, try ignorance.
Likewise, if vaccines seem expensive, try treating Newcastle.
Practical Tips For Vaccinating Your Chicken
First, remember that proper biosecurity is your strongest protection.
Now You Have The Facts
See you next Friday!
carlosdeche4040@gmail.com
secretlayerske@gmail.com