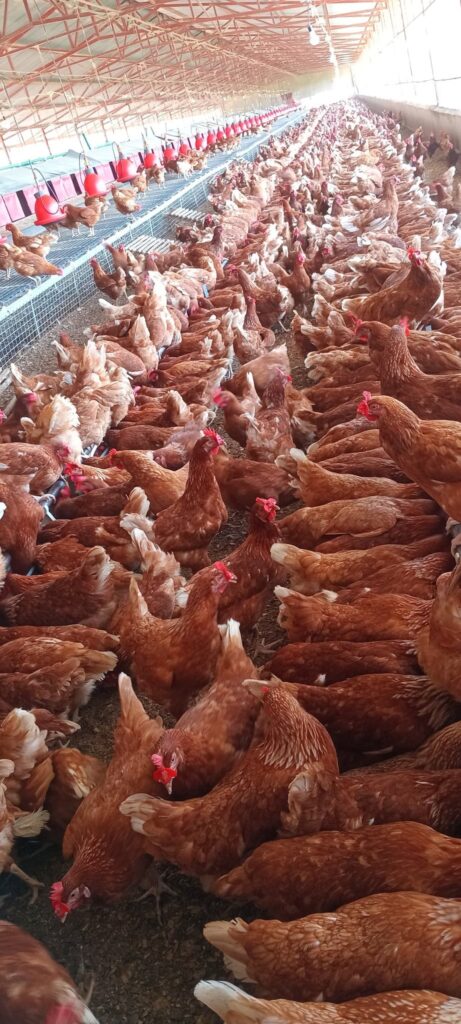
Feed is the monster every poultry farmer is afraid of. It is your biggest cost. And if you are wasting it, you are throwing money away every single day.
The good news? You can stop it. These 11 simple tips will help you cut feed wastage on your farm and put that money back in your pocket — not in the feed company’s pocket.
1. Raise Your Feeders To Chest Level
Raise the feeders to the chest level of your chickens. When feeders are placed too low, chickens scratch and fluff the feed onto the ground. That feed is wasted. Raising the feeder stops this habit.
2. Fill Feeders Only Halfway
Never fill your feeders more than halfway. Too much feed in the feeder makes it easy for chickens to knock it out. Half full is enough. It limits the amount available and reduces spillage.
3. Allow At Least 2 Hours Of Empty Feeder Per Day
When feed is always in the feeder all day, chickens get bored with it. Once they are full, they start pecking at the feed and spitting it out on the ground. I have seen this even with local free-range chickens. Leave the feeder empty for at least 2 hours a day. This stops the ‘peck and spit’ habit and reduces wastage.
4. Use Anti-Wastage Feeders
Some feeders are built to stop wastage. Look for feeders with grills, anti-waste rims, or deep designs — not shallow ones. Yes, they cost a little more. But that small extra cost will save you hundreds, if not thousands, in wasted feed. Buy them. They are worth it.
5. Give Controlled Feed Amounts
Do not just pour feed freely. Give it in controlled amounts. Here is a simple plan that works well for layers: Give 40% of the total daily feed in the morning and 60% in the evening. Once the morning feed is finished, the chickens wait for the evening feed. No extra feed sitting around to waste.
6. Use Good Quality Feed
Feed quality is not just about nutrients or price. It is also about texture, form, and consistency. Chickens waste mash more than pellets. If pellets are too fine, they get wasted more than correctly sized ones. Also, if your feed has foreign material like wood chips, sticks, or grass in it, the birds will sort through it and spill most of it. Get clean, good quality feed in the right form.
7. Have Enough Feeders In Your Chicken House
Too few feeders cause competition. When chickens fight over feeders, feed gets knocked out and wasted. Make sure you have the right number of feeders for the size of your flock. Space them out evenly in the chicken house to avoid crowding.
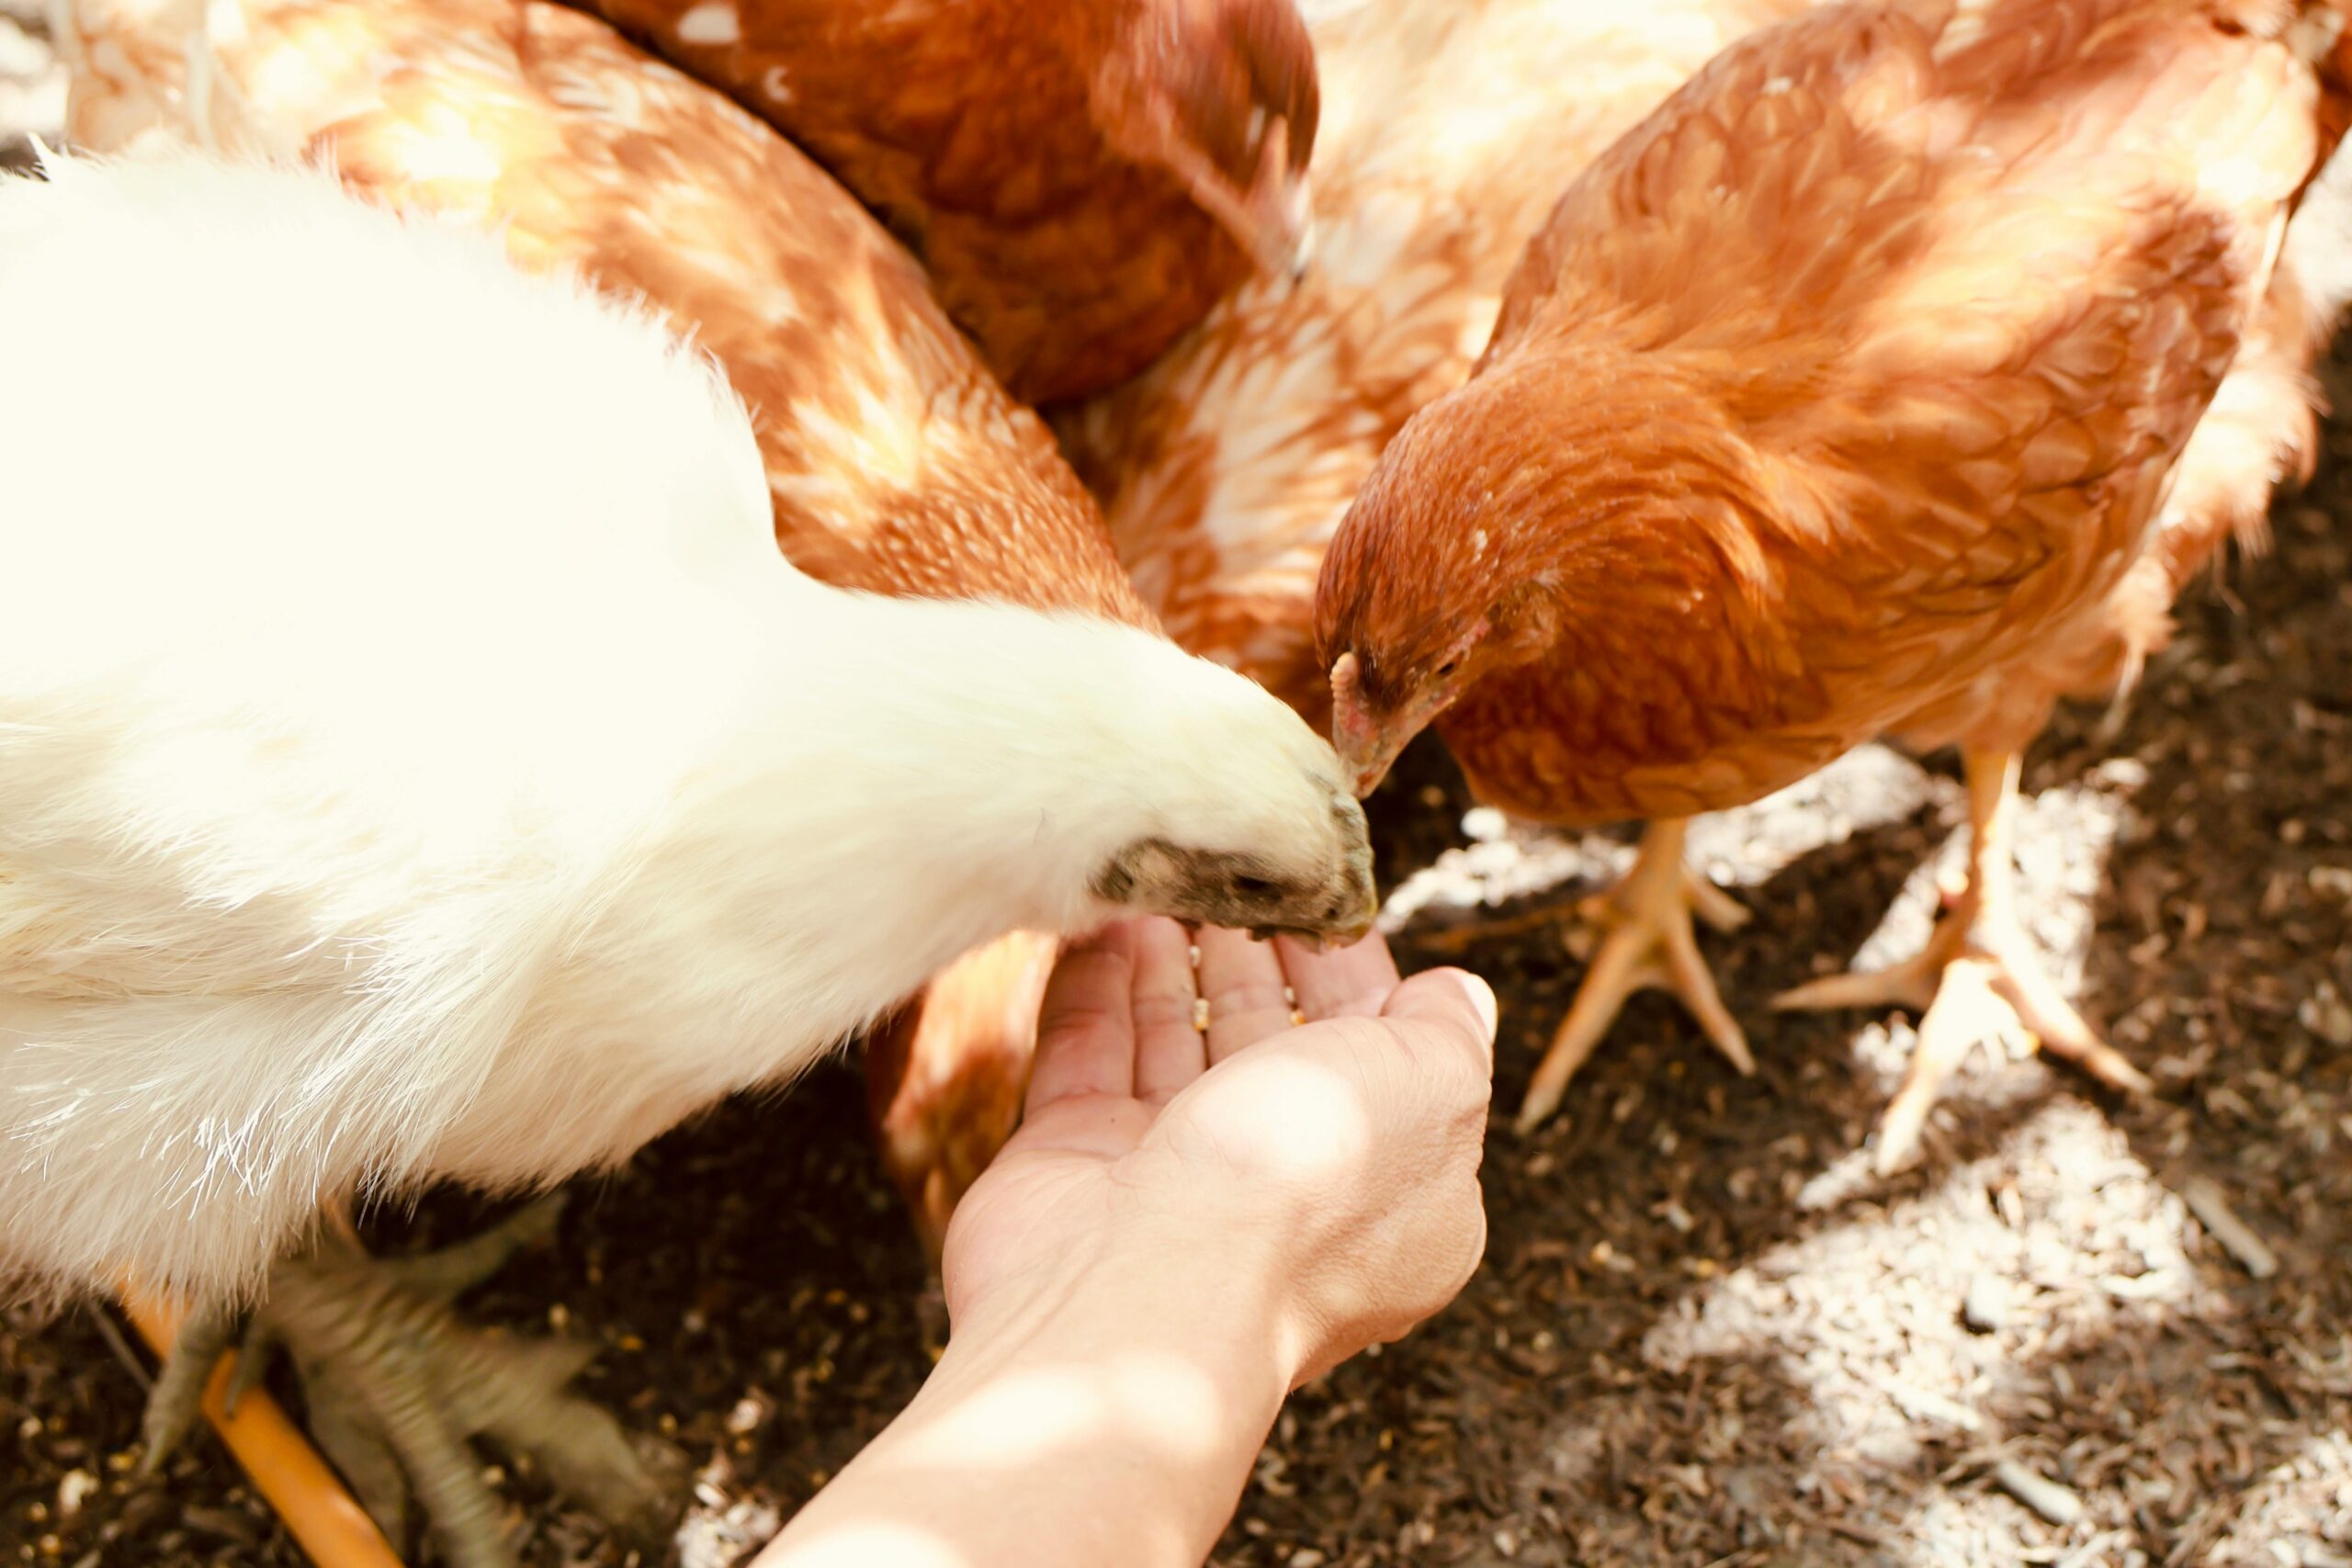
8. Use Feed Additives To Improve Palatability
Did you know chickens have taste buds? They only have 250 to 350 compared to our 10,000, so taste matters less to them — but it still matters. Using feed additives improves the taste and smell of feed. This encourages chickens to eat more of it and waste less. Think about it: how much of your favourite food do you throw away compared to a meal you do not enjoy?
9. Store Your Feed Well
Poorly stored feed gets wasted before it even reaches the feeder. Pests, rodents, and birds can eat it or contaminate it. Contaminated feed is unpalatable to chickens — they simply will not eat it. Always store feed in a cool, dry place. Keep it sealed and protected from pests.
10. Use Automated Feeders Of You Can
Automated feeders control feeding times and amounts. This gives you control over when and how much your chickens eat. It also covers Tip 5 automatically. It does not have to be an expensive system. Remember DR. STARR? The first R stands for Resourcefulness. Find a way.
11. Maintain And Replace Worn-Out Feeders
A leaking feeder will waste feed even if you follow all 10 tips above perfectly. Check your feeders regularly. Maintain them well so they last long. Once a feeder is worn out and leaking, replace it.
These are the 11 tips to reducing chicken feed wastage on your poultry farm. Like I said, feed is the monster every poultry farmer is afraid of.
That is why I take great pleasure in showing you ways to cut your feed costs and get that money back into your pocket — not to the feed companies.
Let me know in the comments which method you are using on your farm and how it is working. Or share any tip you have heard that works.
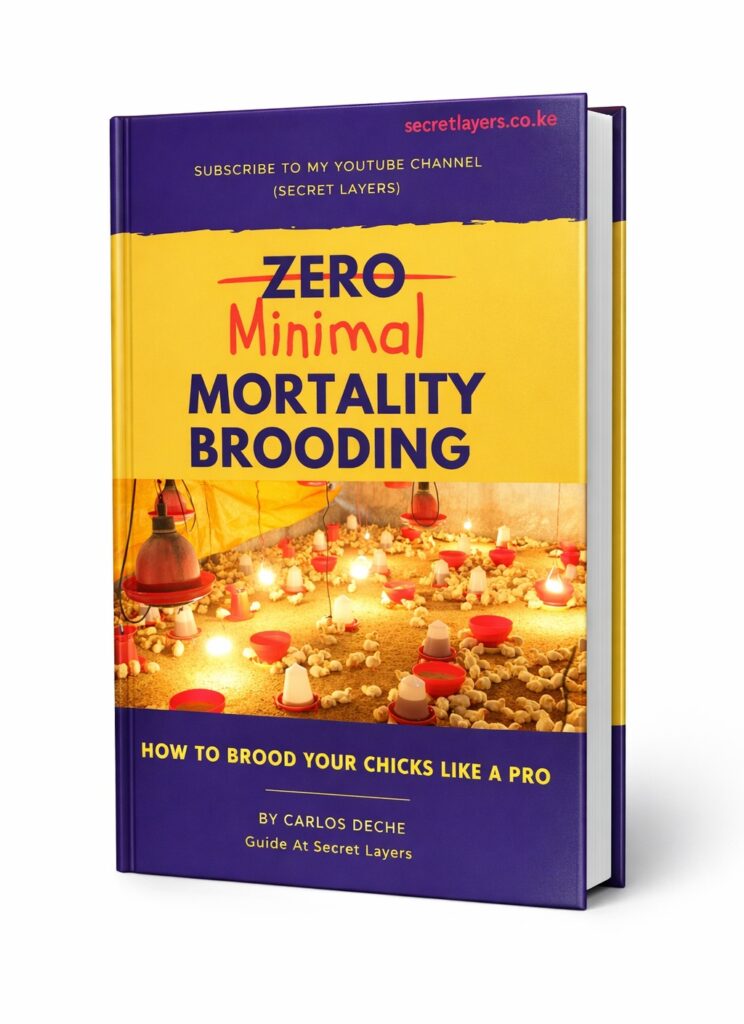
Before you leave — if you are still struggling with brooding and losing chicks in the first month, get the Brooding Guide I prepared for you.
See you next Friday!